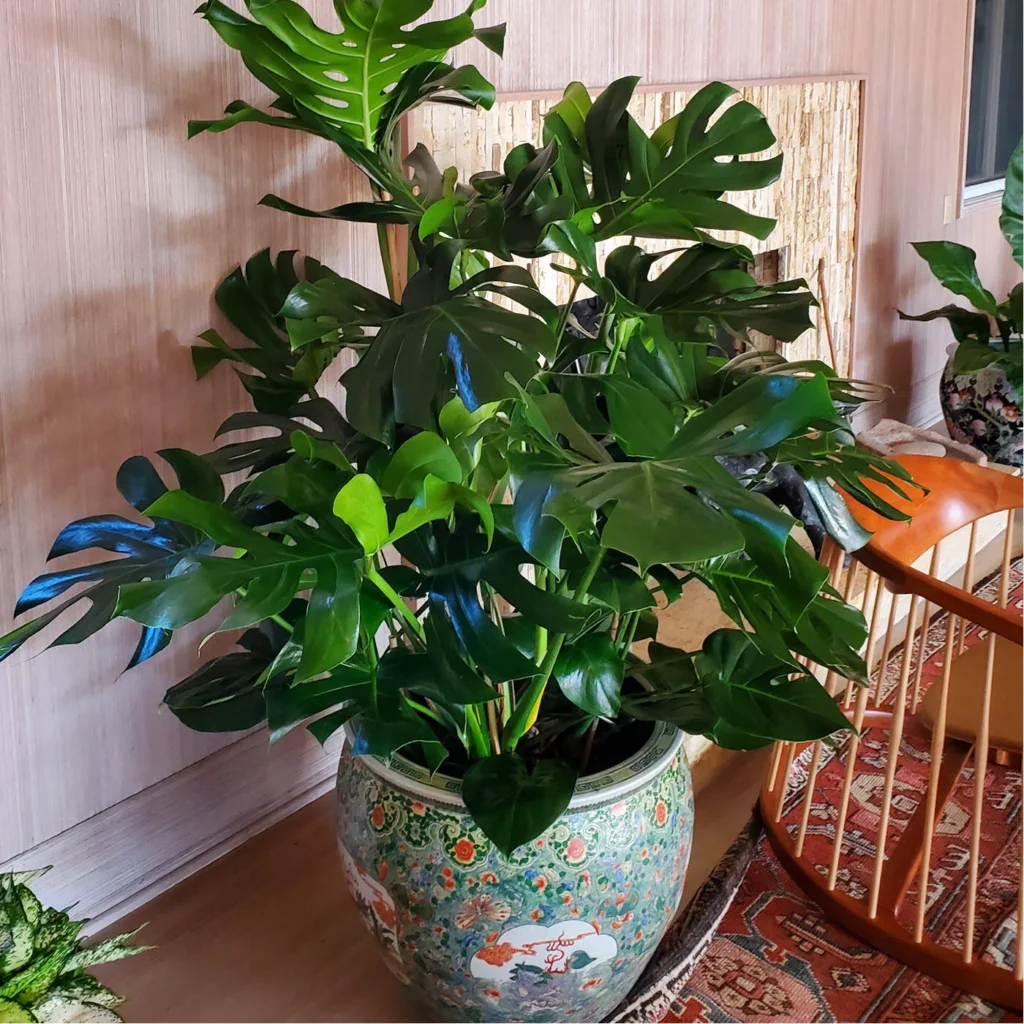
Known for its bold, tropical leaves and rapid growth, the Monstera is a staple in stylish indoor spaces. But to keep your Monstera deliciosa thriving, you’ll need to do more than admire its dramatic foliage—you’ll need to repot it when the time is right.
Whether your plant is rootbound, outgrowing its pot, or simply due for a refresh, repotting a monstera properly is crucial for long-term health. In this guide, we’ll show you how to repot a monstera step-by-step and help you avoid the most common mistakes.
🌿 Why Repot Your Monstera?
Repotting isn’t just about aesthetics—it’s essential to plant health. Here are the key signs that it’s time for monstera repotting:
- Roots growing out of drainage holes
- Slower growth despite healthy conditions
- Water rushes through the pot without absorption
- Soil dries out quickly or feels compacted
- Your Monstera is top-heavy and unstable
- It’s been over 1 to 2 years since the last repot
If any of these sound familiar, it’s probably time to give your plant more space and fresh nutrients.
📅 Best Time to Repot Monstera
The ideal time to repot your Monstera is during its active growing season—spring or early summer. This gives your plant the best chance to adapt, re-root, and grow strong in its new pot.
Can I repot my monstera during winter?
Technically yes, but it’s not ideal. In colder months, Monsteras grow more slowly and are more susceptible to transplant shock. If you must repot in winter (due to root rot, pests, or other urgent issues), do so carefully and avoid disturbing the roots too much.
🧰 Essential Tools and Materials for Repotting
Before you start repotting your monstera, gather these tools:
- A new pot (1–2 inches larger in diameter, with drainage holes)
- Fresh potting mix (see next section for the ideal blend)
- Gloves (optional but helpful for large plants)
- Trowel or small spade
- Pruning shears or scissors (for trimming roots or dead leaves)
- Tarp or newspaper (to contain the mess)
- Optional: Moss pole or stake if your Monstera needs extra support
🪴 Step-by-Step Repotting Process
1. Preparing the New Pot
- Choose a sturdy container with proper drainage.
- If reusing an old pot, clean it thoroughly to remove bacteria or fungus.
- Add a base layer of potting mix to cushion the roots.
2. Removing from the Current Pot
- Gently tilt the pot on its side and slide the plant out, supporting the base.
- If it’s stuck, squeeze the pot or use a knife around the edges to loosen it.
- Avoid pulling on stems or leaves—they’re delicate and prone to tearing.
3. Root Care and Inspection
- Loosen the root ball and shake off old soil.
- Check for:
- Brown, mushy roots (a sign of root rot—trim these off)
- Tightly wound roots (gently tease them apart)
- If trimming is necessary, use clean, sterilized shears.
4. Planting in the New Container
- Place your Monstera in the center of the pot.
- Fill around the roots with fresh soil, gently patting it down as you go.
- Keep the plant at the same soil depth as it was in the old pot.
- Leave about an inch of space at the top for easy watering.
5. Post-Repotting Care
After repotting your monstera, follow these care tips to help it adjust:
- Water lightly—just enough to moisten the soil.
- Keep in bright, indirect light for the first week.
- Avoid fertilizing for 3–4 weeks to prevent root burn.
- Expect some drooping for a few days—this is normal during adjustment.
🚫 Common Mistakes to Avoid When Repotting
Even experienced plant parents can make missteps. Watch out for these pitfalls:
- Overpotting: A pot that’s too big holds excess moisture and can cause root rot.
- Wrong soil type: Using dense or moisture-retentive soil leads to poor drainage.
- Overwatering after repotting: Monsteras need time to recover—too much water too soon can stress the roots.
- Skipping root inspection: Repotting is the perfect time to check for hidden issues.
❓ Monstera Repotting FAQs
Q: How often should I repot my monstera?
A: Every 1–2 years, or when you see signs of being rootbound or declining soil quality.
Q: What size pot should I choose for repotting?
A: Go 1–2 inches wider in diameter than the current pot. Too large, and you risk overwatering.
Q: Why is my monstera drooping after repotting?
A: It’s likely transplant shock. Ensure proper light, water sparingly, and give it time—your plant will perk back up!
Q: Can I repot my monstera during winter?
A: Yes, but only if necessary. Wait until spring if you can, when your plant can recover more easily.
Final Thoughts
Knowing how to repot a monstera the right way helps ensure its continued growth and iconic leaf splits. With the right tools, timing, and care, your Monstera will continue to be the bold statement piece your space deserves.
Need expert help repotting a monstera or designing a lush indoor jungle? Book a consultation with the plant pros at Folha Oasis and let us handle the mess—your Monstera will thank you.
Want more plant care how-tos, seasonal tips, and inspiration?
Join the Folha Oasis newsletter and grow your indoor oasis with confidence.